Popular Posts

Tuesday 30 August 2016

Week One, Part Two: Blueberry, Mint and Lime Drizzle Cake


This cake combines my favourite summer flavours, making a sweet, light, fresh taste.

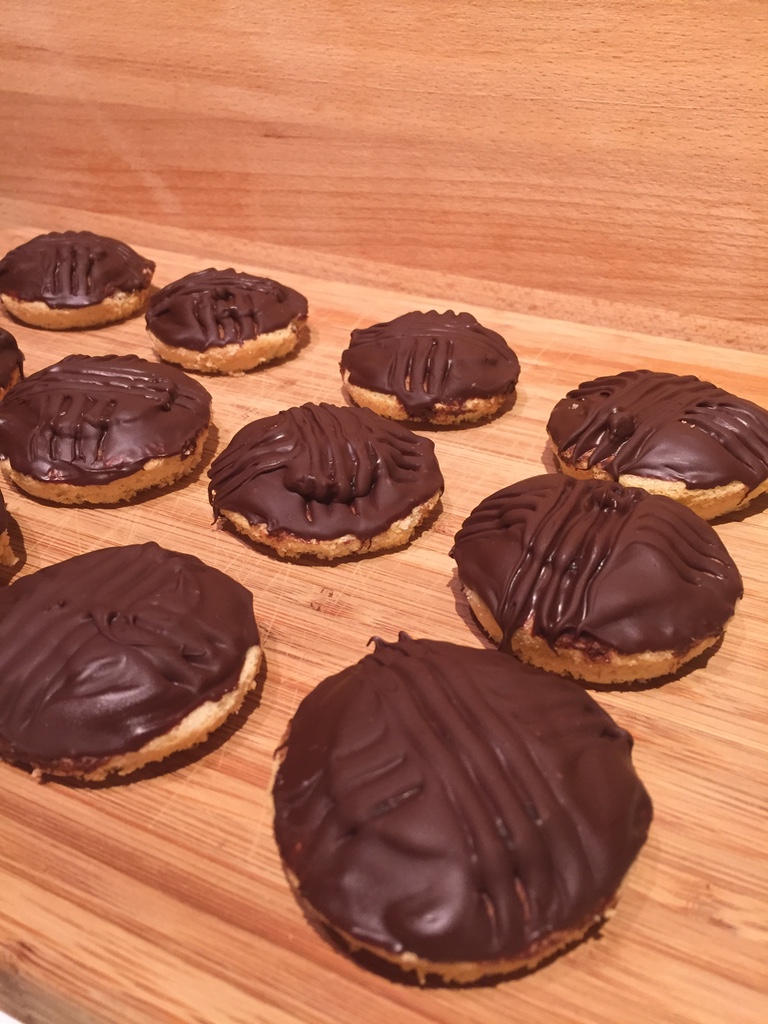
This was MUCH easier than the jaffas - I'll be making this one again!


Full recipe here - http://www.mykitchentreasures.com/2013/09/blueberry-lime-and-mint-drizzle-cake.html

Ingredients
  • 115g very soft butter, plus extra for greasing
  • 25g fresh mint leaves 
  • 250g fresh blueberries
  • Finely grated zest and juice of 1 large lime (I would use 2 for a more zingy flavour)
  • 250g plain flour
  • 2 tsp baking powder
  • Pinch of salt
  • 225g caster sugar 
  • 2 large free-range eggs
  • 120ml whole milk
  • 25g desiccated coconut
  • 100g granulated sugar, plus extra for sprinkling


Method

Step One : Prepare the Ingredients

Preheat the oven to 180 (160 fan) and grease and line your loaf tin.


Finely chop the mint leaves (I used scissors) and mix 1 tbsp of the mint with the blueberries.  Pour over 1 tsp of lime juice (I would use more next time, the flavour's very subtle) and leave to infuse.    Sift the flour, baking powder and salt together.

Cream the butter and caster sugar until pale and fluffy (I used my trusty KitchenAid) then add the lime zest.  Add the eggs one at a time along with 2 spoons of the flour mixture each time.  This will stop the mixture curdling.  When it's smooth, fold in the coconut.  I didn't really taste the coconut, but I feel it contributed to the softness and moistness of the finished cake.


Step Two : Assembling the Cake

Spoon 1/3 of the cake mixture into the bottom of the tin, then sprinkle 1/3 of the blueberry, lime and mint mixture on top.  Repeat twice more, ending with the blueberries.  Bake for 60-70 minutes (check with a skewer - it should be clean)


Step Three: It's Drizzle Time!

Combine the rest of the mint with 2 tbsp of granulated sugar and grind into a paste using a pestle and mortar (or a rolling pin and a bowl!)  When the mixture resembles a paste, stir in the rest of the lime juice (remember, use 2 limes instead of 1) and leave to infuse.  When the cake comes out of the oven, let it cool for 5 mins, then use a thin skewer or a cocktail stick to poke holes through the cake.  Be careful to poke through the soft areas - if you poke through the crust it will leave a noticeable hole!  Strain the drizzle mixture through a sieve then mix with the rest of the granulated sugar.  BE PATIENT as you are drizzling - otherwise the mixture will not go into the cake but will instead go all over your worktop!  Leave the cake to cool before you remove it from the tin and paper.


My score: 4/5 - Nice, easy bake.  My only reason for not giving it 5/5 is that I don't feel the mint and lime came through enough on the first tasting.  A day later was a different story - fresh and zingy!  But if you're looking for strong flavours on the day, it needs a lot more lime and mint.  The coconut didn't come through at all, but I do feel it contributed to the overall texture of the cake.  

Julia's Top Tips
  • Use double the amount of lime and mint if you want a nice, strong flavour on the day of baking.
  • Experiment with the amounts of sugar to suit your own palate - I might use less next time.
  • Maybe bake it for slightly longer in a slightly cooler oven - was moist to the point of crumbling!
  • BE PATIENT with the drizzle - or all you will get is a sticky worktop!

Keeeeeeeep baking!


Week One : Jaffa Cakes


My husband has begged me since Wednesday (Bake Off night) to bake him some Jaffa cakes.  I wasted hours (Ok, 5 minutes) looking for vegetarian orange jelly - couldn't find it anywhere. So I gave up - these are NOT vegetarian friendly!

Prior warning - these are not an easy bake!  Very fiddly and time-consuming - I was ready to tear my hair out by the end!  Here are my step by step instructions with pics, hints and tips - so you can learn from my mistakes!


Full recipe here - http://www.bbc.co.uk/food/recipes/mary_berrys_jaffa_cakes_58695 


Ingredients


For the jelly

1 x 135g packet orange jelly

150ml/5fl oz boiling water 

1 small orange, finely grated zest only 


For the sponge

unsalted butter, for greasing 

1 large free-range egg

25g/1oz caster sugar

25g/1oz self-raising flour, sifted 


For the topping

180g/6¼oz plain chocolate 


Method

Step One : Make the Jelly


Make the jelly as per packet instructions.  I had to stir mine for a loooooooong time - I ended up popping it in the microwave for a few seconds to get the last bits.  Also, I didn't have an orange so I used two clementines instead!

Pour it into a tray to set.  I had a LOT of issues getting it out of the tray when it had set.  I've since googled the issue and a lot of people suggest wiping the tray with vegetable oil so it doesn't stick.

Step Two : Make the Sponge

First, preheat the oven to 180 (160 fan) and grease a bun tin.  I also added a sprinkle of sugar to help the cakes come out cleanly.  This worked well so I recommend you try it.


Then, whisk the egg and sugar until it is pale and fluffy (should look almost white).  I used my trusty mixer  (£5 from Sainsbury's!) to save my arm muscles!  After that, fold in the flour. (I always use a metal spoon to fold)


Use a FULL dessert spoon to fill each well in the bun tray (about 3/4 full), then smooth the tops.  Bake for about 7 minutes.  THEY WILL NOT GO GOLDEN BROWN so you do need to do the 'finger' test (sponge should bounce back when pressed lightly with a finger) and not rely on colour (mine were dry because I left them in too long).


Step Three : Jaffa Cakes - Assemble!

Welcome to the fiendishly difficult part!  Up to now it's been relatively straightforward.  The jelly and the chocolate are a NIGHTMARE.

I always melt my chocolate in the microwave.  Some people may find this daunting but the trick is to do it in quick blasts.  Break 2/3 of the chocolate into a bowl and melt in 20 second blasts, stirring in between.  When it's melted, add the remaining 1/3 of the chocolate and just stir - the remaining heat will melt the rest of the chocolate.  This reduces the risk of the chocolate spoiling and usually guarantees me a gorgeous shine.  Leave it to cool for a while until it is quite viscous.  Mine refused to thicken as it was so hot when I was making them.


My jelly was a DISASTER.  As I mentioned earlier, it stuck to the dish so I couldn't turn it out.  I was forced to cut the circles in the dish, which then meant they lost their shape as I transferred them onto my buns - very messy!  Definitely not the polished look I was going for!


Finally, spoon the chocolate onto the jaffa cakes and smooth carefully around.  I was NOT patient enough - my chocolate was still too runny and dribbled down the sides.  Also, I was forced to put my jaffas in the fridge to set as they refused to set at room temperature.  This meant they lost their beautiful shine and went misty.  The criss cross was a disaster too.  Again, I was impatient and dragged the fork across when it was still too wet, resulting in messy crosses.


My score: 1/5  This is far too difficult for the pay off involved.  They were absolutely delicious but frustrated me so much!  Don't do it.  Buy a pack instead! :)

Julia's Top Tips
  • Wipe your jelly dish with flavourless oil before you begin so that your jelly doesn't stick.
  • BE PATIENT - the chocolate will spread better if it's slightly cool and thicker.
  • Don't bother with the criss cross - it looks rubbish!
Keeeeeeeep baking!

Monday 29 August 2016

Guess Who's Back... Back Again...

That's right everyone!  The Great British Bake Off has returned - and so have I!  I feel confident I can complete the challenge now - at least one bake from each Bake Off week!

Week One - Jaffa Cakes and Drizzle Cake!