


Halloween is my 2nd favourite holiday (Christmas is obviously my favourite!) and we always go all out every year! Our annual Halloween party has costumes, decorations, quizzes... and, as always, cake!

This year, I decided to make a red velvet cheesecake skyscraper cake, inspired by Junior's cheesecake in NYC. https://www.juniorscheesecake.com My brother and I have been obsessed since our first visit - you must have at least one slice in your lifetime!
I am super chuffed with how it turned out (even though there were one or two pitfalls along the way!) and everyone agreed that it tasted phenomenal!
IMPORTANT: You must make the cake and the cheesecake the day before so they can cool completely overnight before assembling!
I based the majority of the recipe on the Carrot Cake skyscraper book from Junior's recipe book - https://www.amazon.co.uk/Juniors-Cheesecake-Cookbook-die-York-style/dp/1561588806
The red velvet part I took from the BBC Good Food website - http://www.bbcgoodfood.com/recipes/freaky-finger-red-velvet-cake
Annoyingly, they do use different measuring systems due to Americanisms!
Ingredients
For the red velvet cake
- 175g soft butter , plus extra for greasing
- 225g white caster sugar
- 1 tsp vanilla extract
- 3 large eggs , at room temperature
- 1 tbsp red food colouring paste
- 200g plain flour
- 50g cocoa powder
- 1½ tsp bicarbonate of soda
- ½ tsp baking powder
- ¼ tsp salt
- 150g pot low-fat plain yoghurt , loosened with 2 tbsp milk


For the cheesecake
- 1 1/2lbs of full fat cream cheese
- 1 1/3 cups caster sugar
- 3 tbsps cornstarch
- 1 tbsp pure vanilla extract
- 2 extra large eggs (equivalent to 8tbsp of beaten egg)
- 2/3 cup heavy or whipping cream
For the cream cheese frosting
- 1 1/2lbs of full fat cream cheese
- 1 cup unsalted butter (I used salted)
- 1 1/2lbs of icing sugar
- 1 tbsp pure vanilla extract
- 1/4 cup heavy or whipping cream
Method
Step One: Make the Red Velvet Cake
This is one of my favourite kinds of cake! Heat the oven to 180C (160C fan) and grease and sugar a 9-inch cake pan. Cream the butter, sugar and vanilla, then add the eggs, one at a time, beating after each. If your mixture curdles, add 1 spoonful of flour and it will sort it out!


- Beat in the colouring until combined. Sift all the dry ingredients together, then fold in HALF the dry ingredients (capitalised because I didn't read the instructions properly and chucked it all in!) and HALF the yoghurt and milk mix. THEN fold in the other HALF of the dry ingredients and the other HALF of the yoghurt and milk mix.


Step Two: Make the Cheesecake
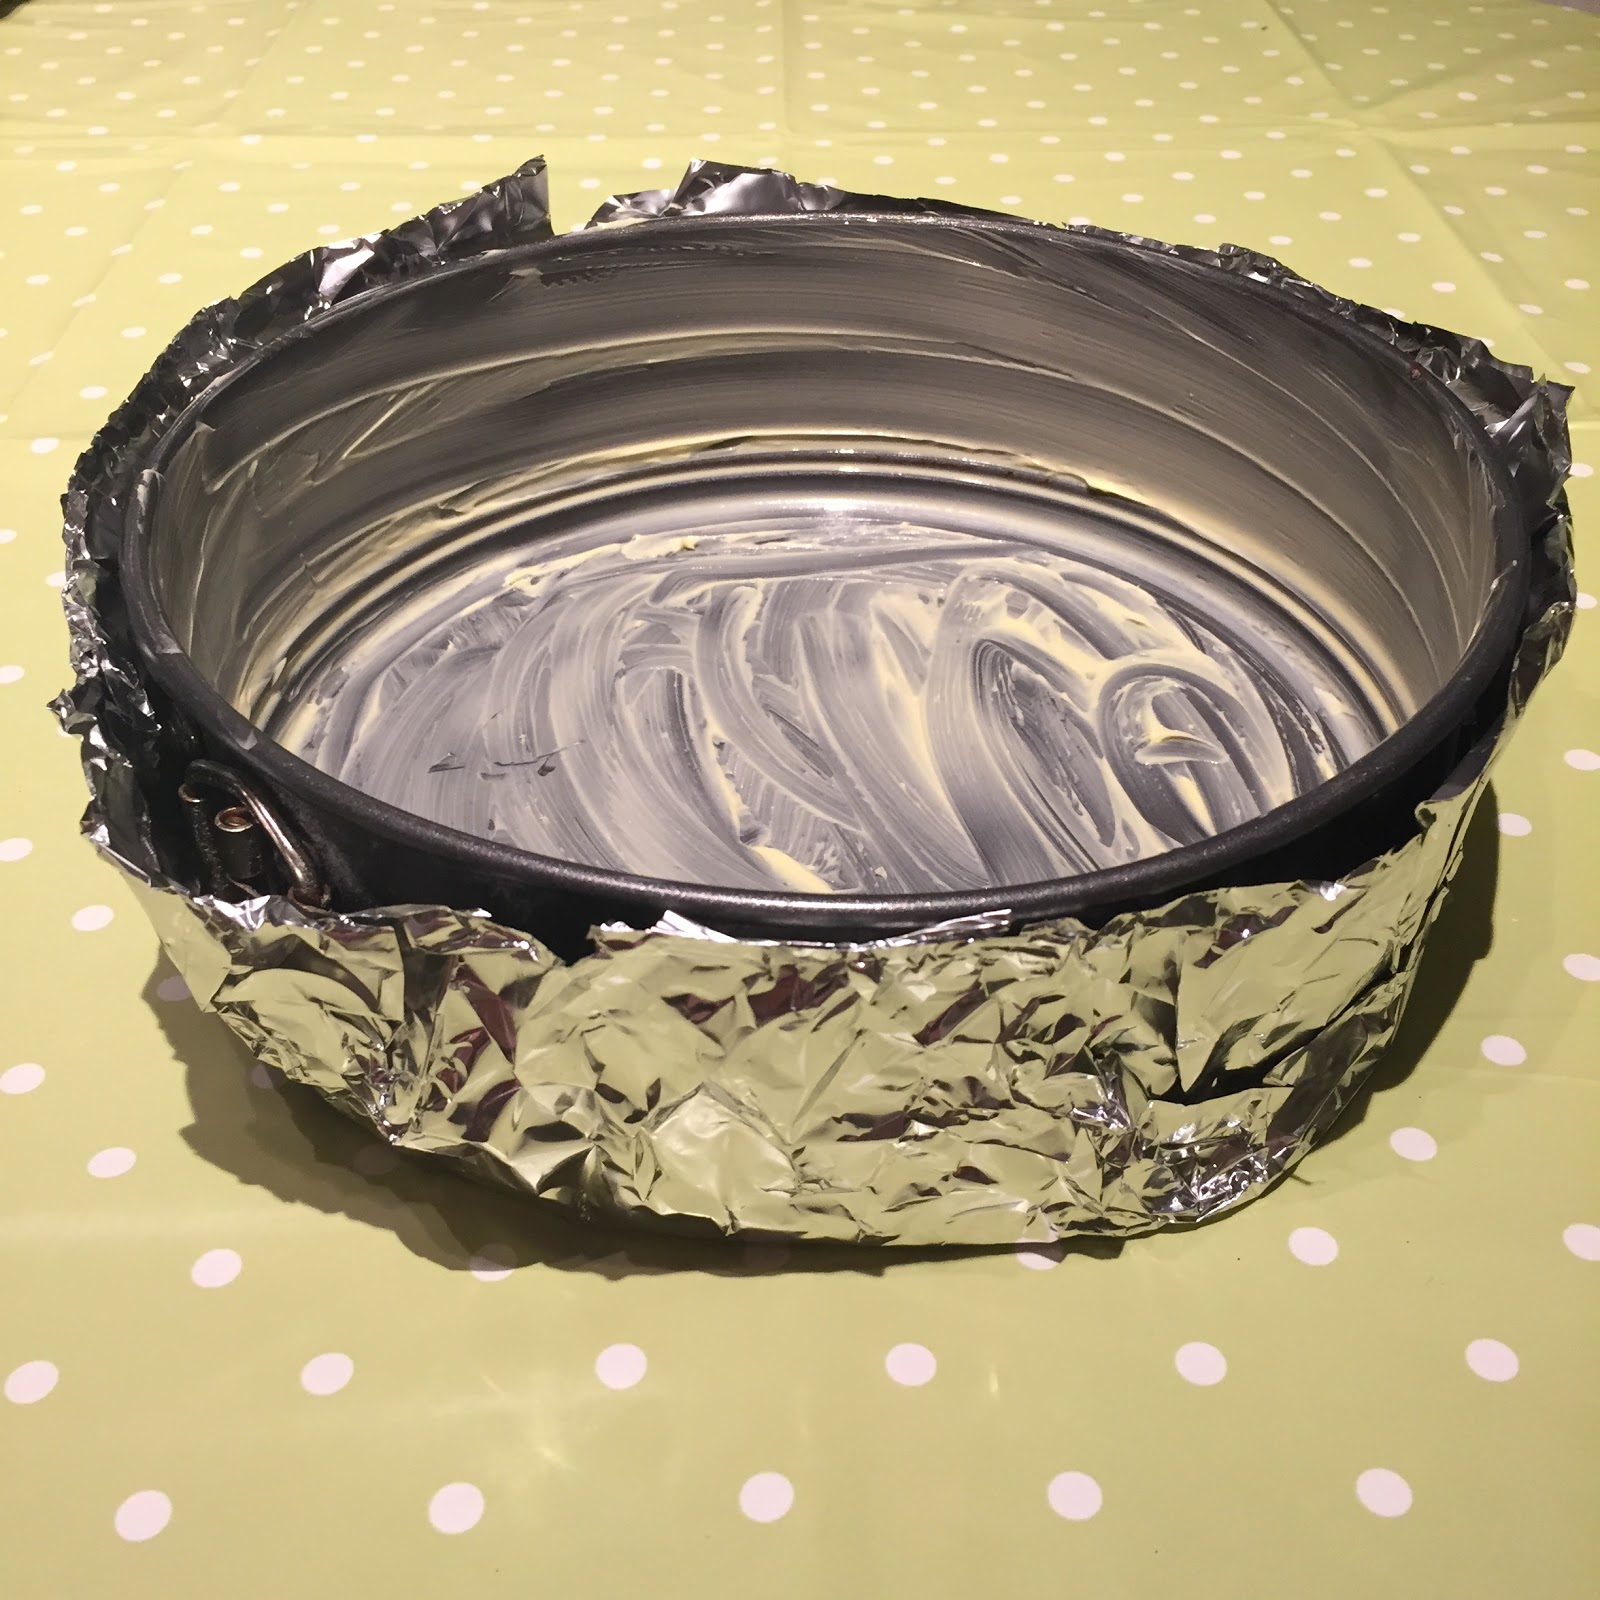
Preheat the oven to 180C (160C fan) and butter the bottom and sides of a 9 inch springform pan. Wrap the outside of the pan in tin foil. Mix 8oz of cream cheese, 1/3 cup of sugar and the cornstarch with an electric mixer on a low speed until creamy. Add the rest of the cream cheese (a bit at a time) then scrape down the sides. Increase the speed to medium and add the rest fo the sugar and the vanilla then the eggs (1 at a time). Beat in the cream until completely blended. Spoon the mixture into the pan and place it into a large shallow roasting pan full of hot water - it should come about halfway up the sides of your cheesecake pan. Bake for about 1 1/4 hours until lightly brown.


(Mine was too brown!) Cool in the tin for at least 2 hours, then take off the foil and wrap the whole cheesecake and pan in cling film. Refrigerate until completely cold, then place in the freezer overnight.
Step Three: Make the Buttercream
Beat the cream cheese and butter together on high speed until creamy. I always use salted butter in all my buttercreams - it offsets the sweetness of the icing sugar. (Also, mix icing in a large bowl because otherwise icing sugar goes everywhere.) Add the icing sugar slowly, folding in slightly before beating (this stops it from flying everywhere). Add the vanilla and the cream, then mix until smooth. Clingfilm and refrigerate overnight so it's nice and firm.

Step Four: Cheesecake - Assemble!
Take everything out of the fridge/freezer ten minutes before you want to assemble the cake. Cut the cake in half horizontally. Put one half onto your serving plate and spread the top with some of the icing. Remove the cheesecake from it's pan and place on top and spread with more buttercream. Finally, lay the other half of the cake on top. Cover the whole thing with the rest of the buttercream.
To create the spider design, pipe concentric circles on top with red gel icing. Using a skewer, drag the tip of the skewer from the centre to the outside to create the spider web.

My score: 5/5 Relatively easy, but does need some forward planning. A real showstopper! Can be adapted to all kinds of different flavours - I've made a carrot cake one and a chocolate one before. :)
Julia's Top Tips
- Be organised! Make everything the day before your party, assemble it the afternoon of your party and store in the fridge.
- Experiment with different flavour and designs. You could try carrot cake, chocolate cake, funfetti cake, caramel cake... the opportunities are endless!
- Always use salted butter in your buttercream!
Happy Halloween!!


